



How to Charge Lithium Battery
author: JM ENERGY
2025-12-29
The Simple Guide to Charging Your High-Capacity Wall-Mounted Lithium Ion Battery
Table of Contents
Introduction
As more American homes switch to renewable energy, the Lithium Ion Battery has become a go-to for reliable storage. Our High-Capacity Wall-Mounted Lithium Ion Battery—specifically the 51.2V200Ah-10KWH model—combines power, space-saving design, and durability. Built in Dongguan, China, with a decade of engineering experience, it’s perfect for solar setups, backup power, or off-grid living.
But to get the most out of your battery, you need to charge it right. Poor charging shortens its life, cuts capacity, and risks safety. This simplified guide walks you through the basics, shares pro tips, and highlights real wins from two U.S. families.

Key Specs to Know
Before charging, keep these quick specs in mind—they’re key to safe use:
- Voltage: 51.2V (max charge: 58.4V; cut-off: 40V)
- Capacity: 200Ah (10.24KWH of usable energy)
- Cycle Life: 8,000+ cycles (10+ years of daily use)
- Design: Wall-mounted (920*485*190mm) to save space, portable if needed
- Safety: Built-in BMS (Battery Management System) protects against overcharging, short circuits, and overheating
- Certifications: Meets UN38.3, CE, and RoHS standards—safe for U.S. homes
Step-by-Step Charging Guide
Charging your Wall-Mounted Lithium Ion Battery is straightforward—just follow these 5 steps:
1. Prep the Space
- Choose a well-ventilated area with no flammables (gasoline, paper, chemicals).
- Charge between 50°F to 95°F (10°C to 35°C) for best results. Avoid extreme heat or cold.
- Check the battery for cracks, leaks, or corroded terminals. If you see issues, stop and contact support.
2. Use the Right Charger
- Must match 58.4V (max charge voltage) to avoid damage.
- Standard charge current: 40A (can handle up to 200A for fast charging).
- Use our factory-approved charger—third-party options may not work with the BMS and could void your warranty.
3. Connect Safely
- Turn off both the battery and charger first.
- Match positive (+) cable to positive terminal, negative (-) to negative. Tighten connections—loose cables cause overheating.
- Double-check polarity (no reversed cables!)—this ruins the BMS.
- Turn on the charger, then the battery. The LCD screen will show “Charging” and progress.
4. Monitor Briefly
- The battery’s LCD or your phone (via BT/WIFI) shows voltage and charge level.
- It stops charging automatically at 58.4V—no need to unplug early.
- If it gets too hot (over 140°F/60°C) or smells odd, stop charging immediately.
5. Finish & Maintain
- When the screen says “Full Charge,” let it rest 30 minutes before use.
- Disconnect in reverse: Turn off battery → charger → remove cables.
- For storage: Discharge to 50-70% and keep in a cool, dry place.
- Wipe terminals with a dry cloth occasionally to remove dust.
Pro Tips for Longer Life
From 10 years of making Lithium Ion Batteries, here are 4 simple tips:
- Don’t drain the battery below 20% (80% DOD)—deep discharges wear it out fast.
- Charge with solar during peak sunlight (10 AM–4 PM) (U.S. Department of Energy guidance) to save on grid costs.
- Never charge in freezing temps (-4°F/-20°C or below)—it damages cells.
- Check the BMS occasionally via the app or LCD for alerts.

Real U.S. Family Success Stories
Case 1: The Martinez Family (Phoenix, AZ)
With scorching summers and frequent outages, they paired a 5kW solar system with our 10KWH Wall-Mounted Lithium Ion Battery. They charge via solar 10 AM–3 PM (full in 5 hours) and avoid peak grid times.
Results: Cut electric bills by 75% ($1,200/year) and powered their AC, fridge, and lights during a 3-day outage. After 18 months, the battery still has 98% capacity.
“The wall-mounted design fits our small garage perfectly,” Mrs. Martinez said. “Checking the charge on my phone is so convenient—we tell everyone with solar about it!”
Case 2: The Thompson Family (Rural VT)
Living off-grid with spotty winter power, they use 6kW solar + a backup generator. In winter, they charge the battery for 2 hours daily (200A fast charge); summer solar alone works. They never drain below 30%.
Results: The battery runs their well pump, heating, and home office for 2 days straight during outages. Even in -15°F weather, it performs flawlessly.
“It’s durable, easy to charge, and the 10-year warranty gives us peace of mind,” Mr. Thompson said. “We couldn’t live off-grid comfortably without it.”

Why Choose Our Lithium Ion Battery?
- Grade A Cells: Reliable performance with low internal resistance.
- 10+ Year Life: 8,000+ cycles mean no frequent replacements.
- Space-Saving: Wall-mounted, no floor clutter.
- U.S.-Compliant: Meets global safety standards.
- Customizable: OEM/ODM options for homes, RVs, or businesses.
Conclusion
Charging your High-Capacity Wall-Mounted Lithium Ion Battery doesn’t have to be complicated. Stick to the right charger, avoid extremes, and follow our simple steps to get over a decade of reliable use. Our 51.2V200Ah-10KWH model—built with 10 years of Dongguan expertise—is designed for American homes, backed by a 10-year warranty.
Whether you’re saving on bills, preparing for outages, or going off-grid, this Lithium Ion Battery delivers. Contact us today to learn more!

How To Clean Corrosion Off Battery Terminals
What Is Battery Charge
Related Article
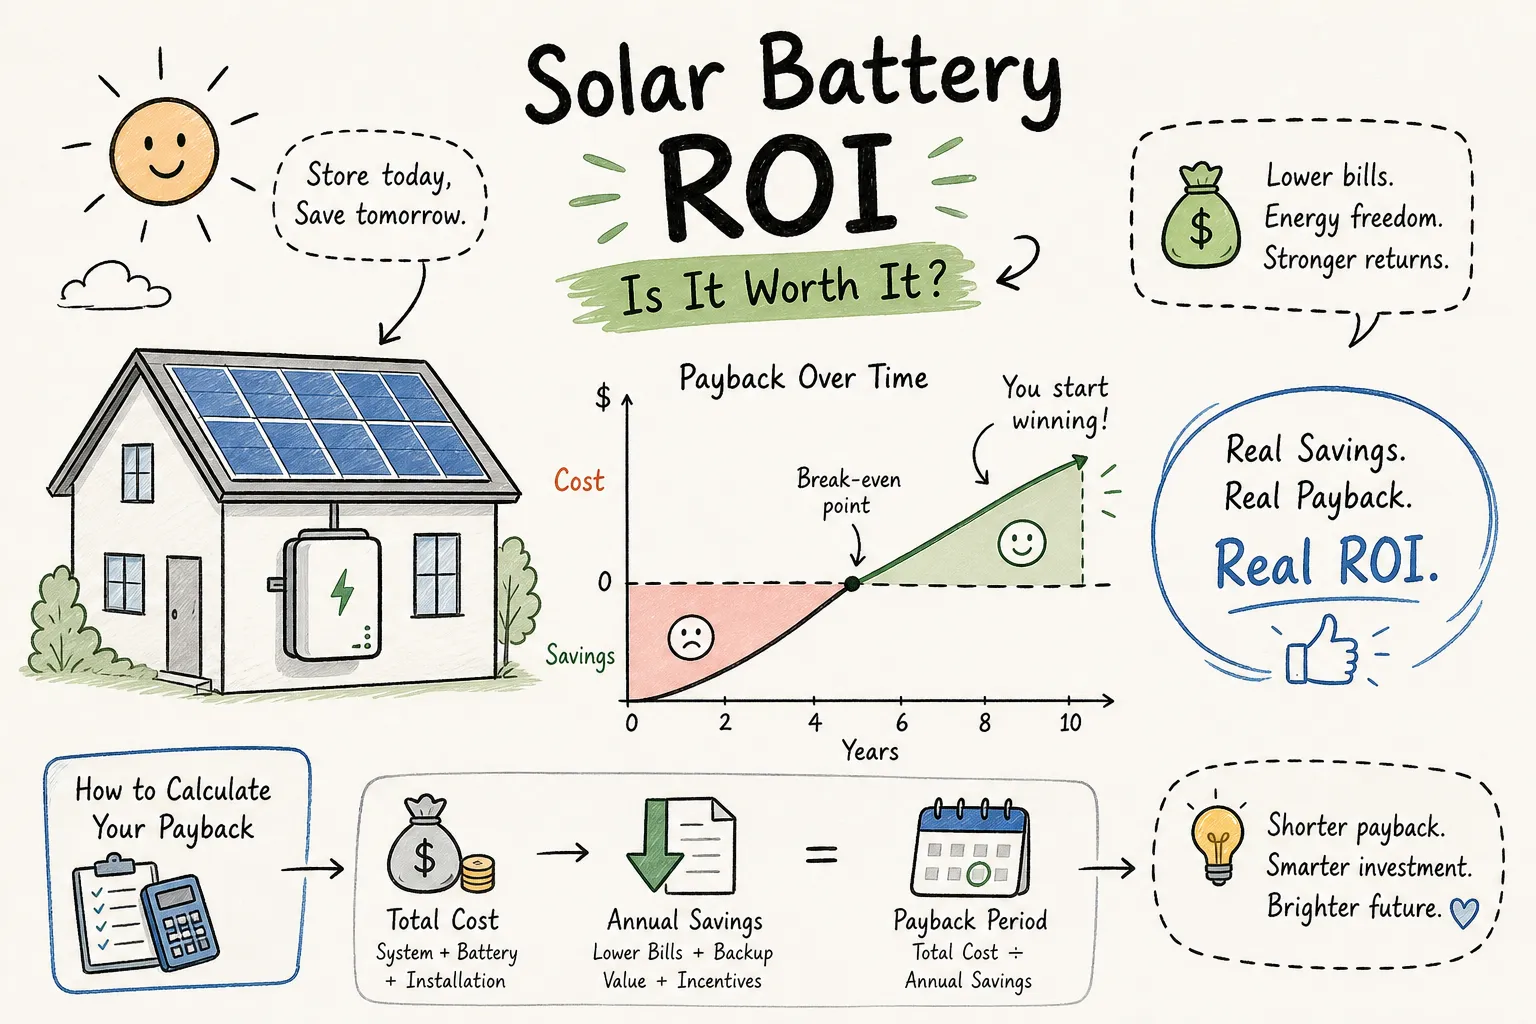
Calculate solar battery ROI with real 2026 costs, state rebates (SGIP, NYSERDA), LFP degradation, and NEM 3.0. Honest payback benchmarks for US homeowners.
Solar Battery ROI: How to Calculate Your Real Payback Period
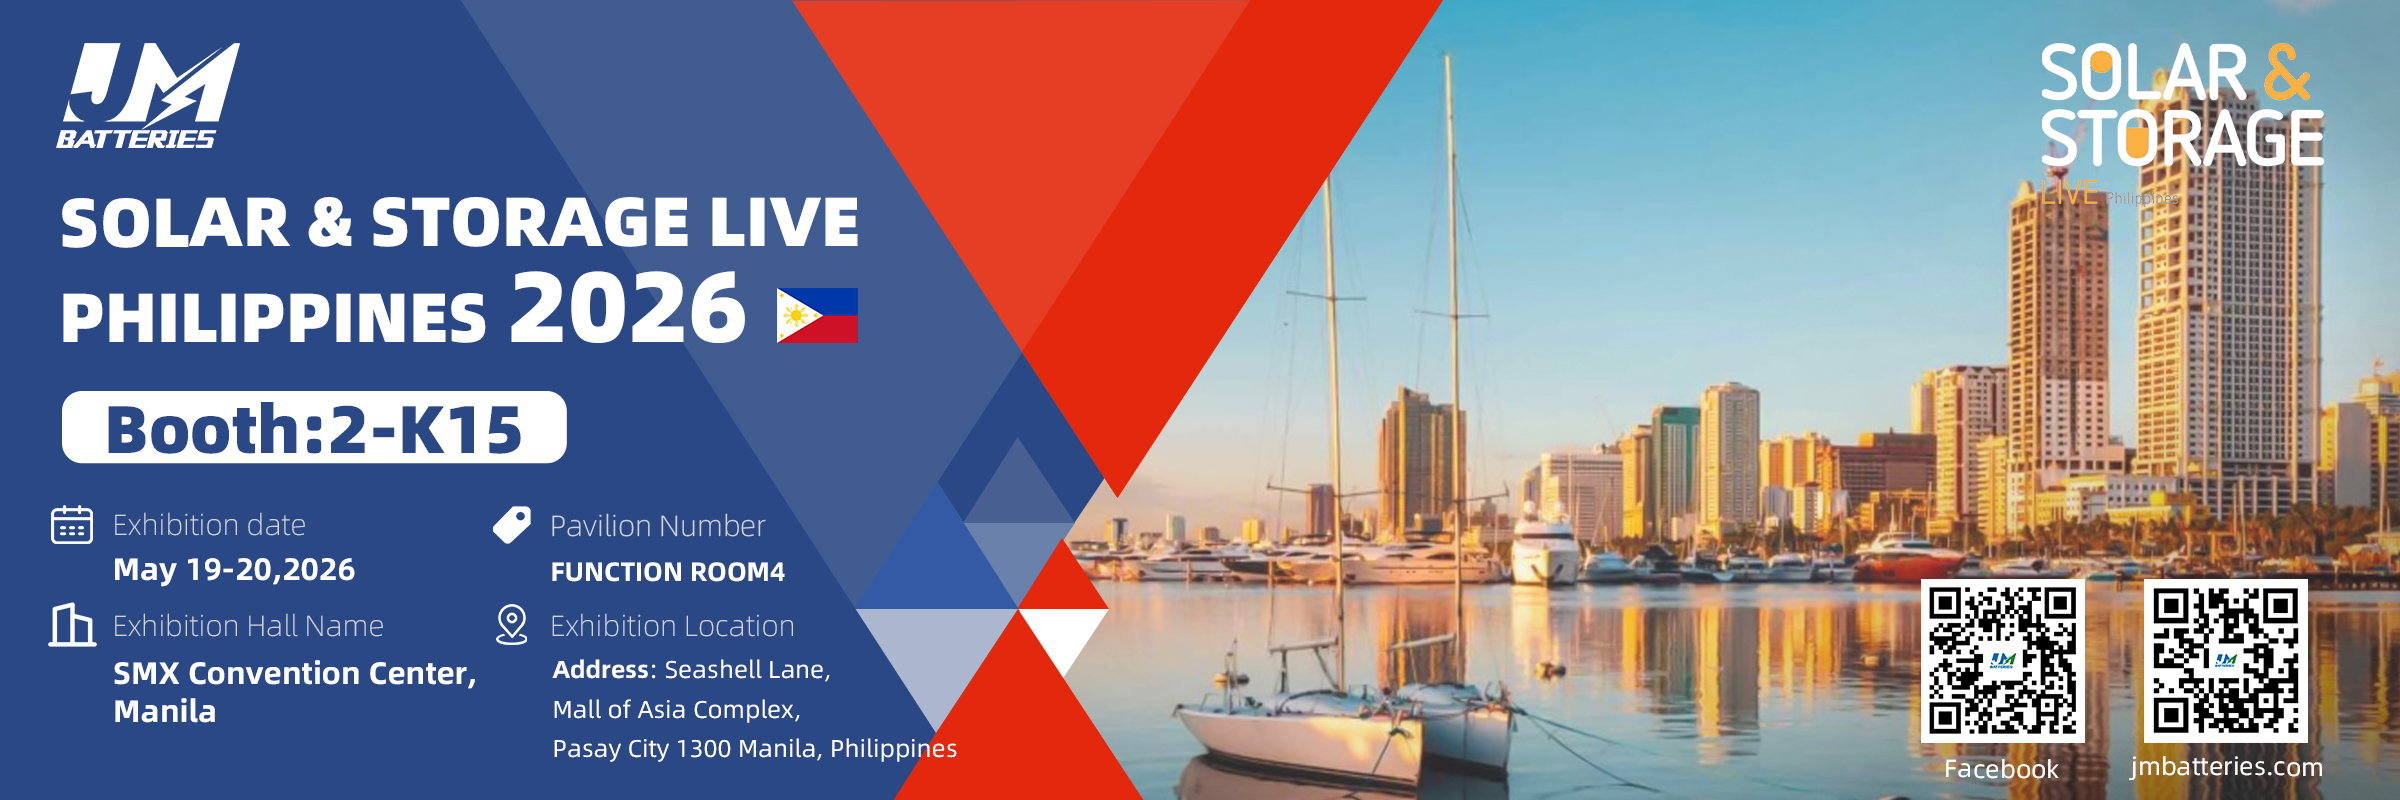
JM EnergyTech participated in Solar & Storage Live Philippines 2026 and officially entered the Philippine market. We provide reliable tropical-grade LiFePO4 home energy storage solutions for local households and businesses.
JM EnergyTech Debuts at Solar and Storage Live Philippines 2026

JM Energy Tech will attend the Indonesia Battery Show (Booth No.: [A2J4-03]), presenting our products and offering safe, efficient customized solutions to meet the needs of Indonesian households, businesses and project partners.
JM Energy Technology to Showcase Energy Storage Solutions at Indonesia Battery Exhibition
