


How To Recharge Batteries
How to Recharge a Solar Lithium Battery: Complete Guide for JM 51.2V 300Ah LiFePO4 Pack
Article Summary
This guide walks you through safely recharging JM Energy Tech’s 51.2V 300Ah (≈15.36 kWh) LiFePO4 solar battery. You’ll find quick pre-charge checks, a simple 5-step process, safety must-dos, real stories from U.S. homeowners, compatibility info, charge time estimates, and answers to common questions. It’s optimized for anyone searching for clear instructions on solar lithium battery charging.
Introduction
More U.S. homeowners are going solar—and reliable energy storage is what makes solar work for lower bills and backup power. JM’s 51.2V 300Ah LiFePO4 battery is built for home use: it lasts long, handles high power, and comes with smart safety features. Whether you’re an installer or a homeowner, this guide makes recharging with solar panels straightforward and stress-free.

Pre-Recharge Checks (5 Minutes Max)
Start with these quick checks to keep your battery safe and working well. They take just a few minutes but make a big difference.
- Inspect the battery exterior: Look for cracks, dents, swelling, or leaks. Even though it’s IP65-rated (water/dust resistant), don’t charge if there’s damage—contact JM support.
- Check temperature: Charge only if the battery and surrounding area are between -20°C and 60°C (-4°F to 140°F). If it’s too hot or cold, let it adjust to room temperature first.
- Tighten connections: Make sure cables and terminals are clean and snug (follow your inverter/battery manual for torque specs). Loose connections cause heat and slow charging.
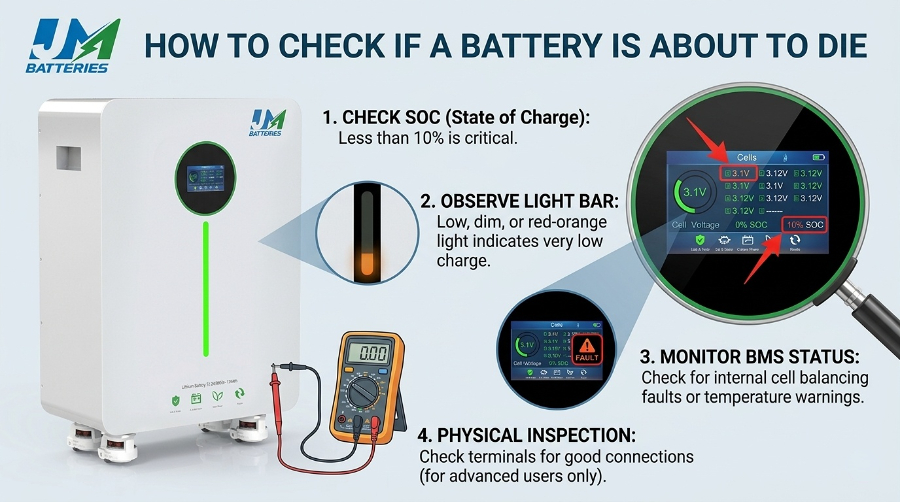
- Check battery level: Use the battery’s display or phone app to see the state of charge (SOC). If it’s already ~100%, skip charging to save battery life.
- Confirm compatibility: Ensure your inverter’s firmware and settings (like charge voltage) match JM’s recommendations. Double-check CAN/RS485 wiring for smooth communication.
5-Step Recharging Guide
Step 1 — Connect solar panels to your inverter
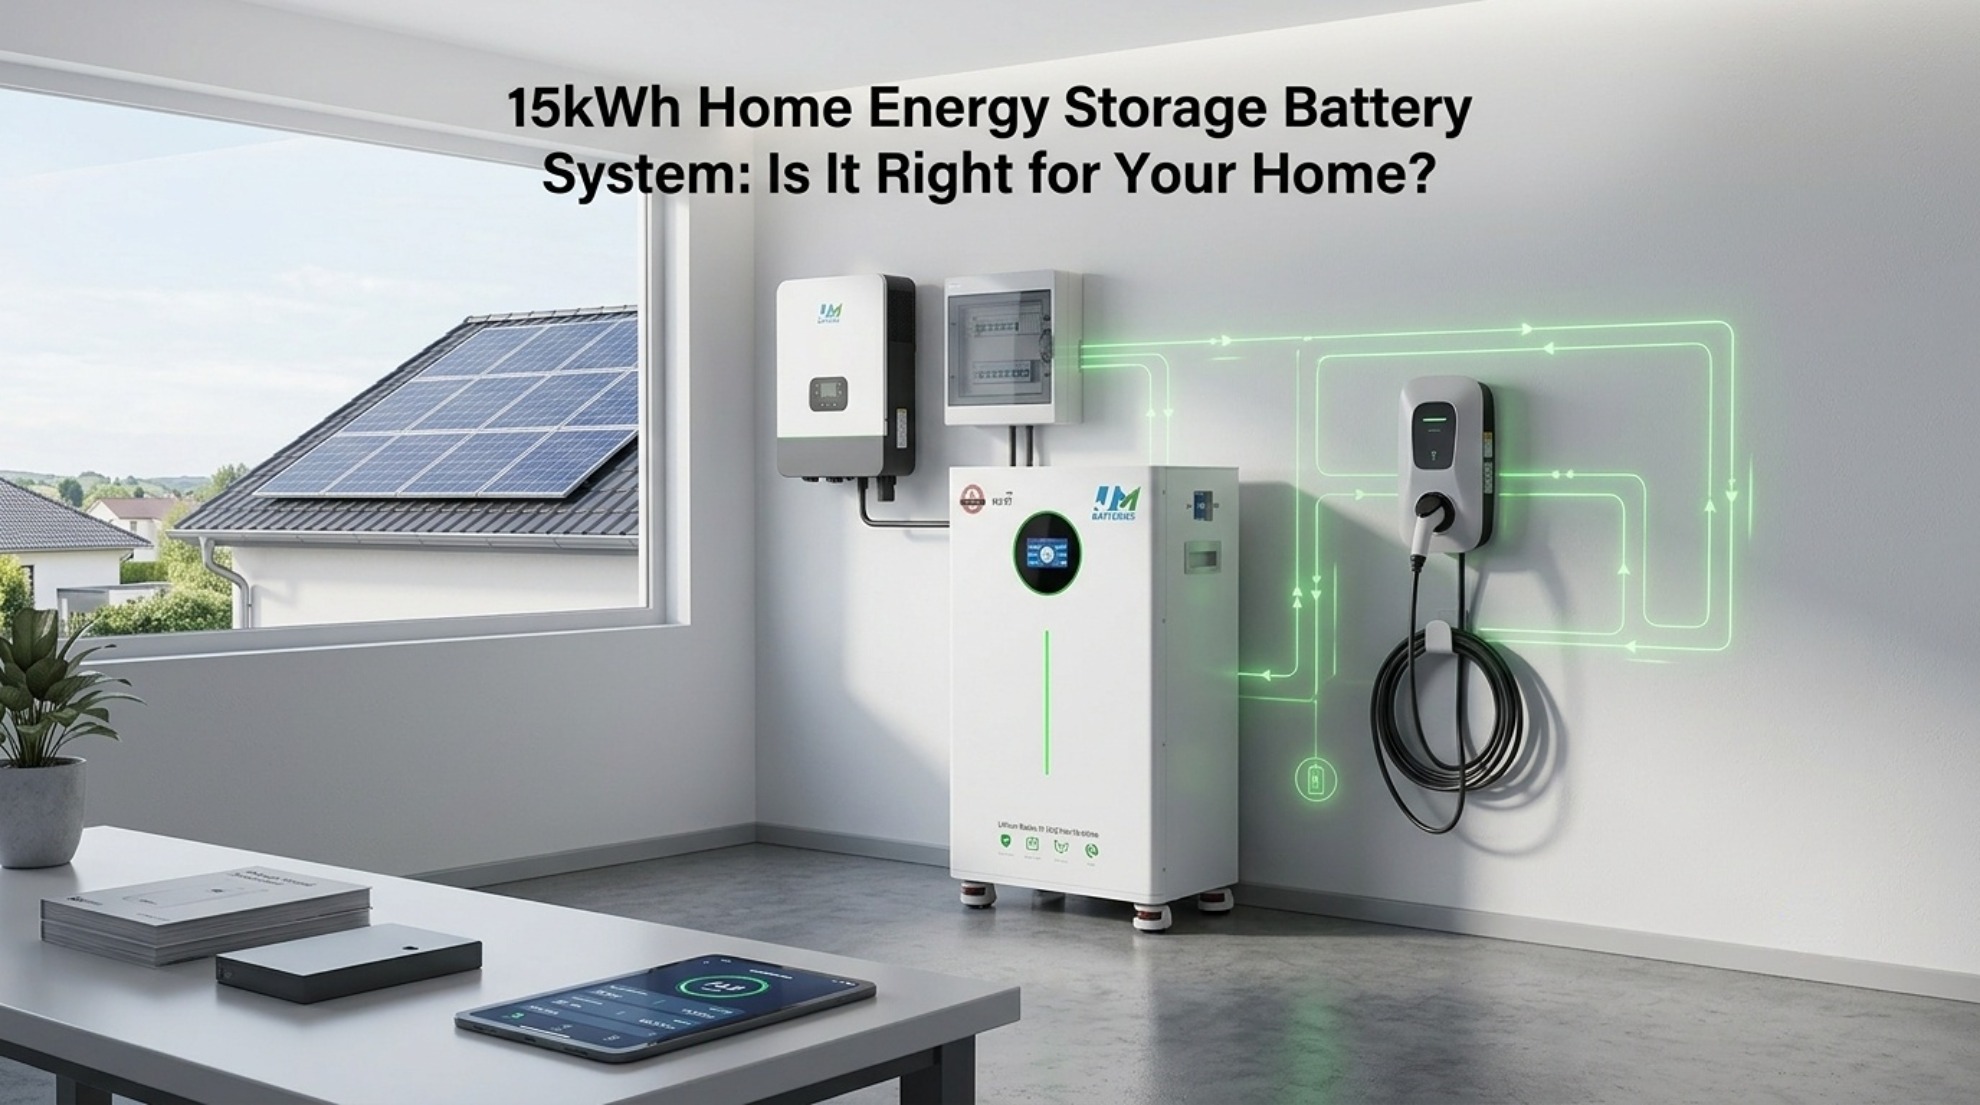
Point your solar panels toward the sun for maximum power. Wire the panels to your inverter following the manufacturer’s diagram—don’t forget DC isolators and fuses for safety. Your inverter’s MPPT (maximum power point tracking) will automatically pull the most energy from the sun to charge the battery.
Step 2 — Connect the inverter to the battery
Use thick enough cables to handle the current (this prevents overheating). Connect the inverter’s battery terminals to the JM battery, then hook up the communication wires (CAN or RS485). These wires let the inverter and battery “talk” to each other for safe, efficient charging.
Step 3 — Start charging
Turn on the inverter first, then the battery. If your inverter has an app (most do), use it to start charging—you can also use the inverter’s display. Keep an eye on live stats: charging current (max 200A for this battery), voltage, and SOC. The built-in JBD-200A-16S BMS (Battery Management System) will balance the battery cells and protect against issues like overcharging.
Step 4 — Monitor progress
Check the app or battery display every hour or so. With good sun and a properly sized solar array (6kW or more), expect a full charge in 5–6 hours if the battery was low. Cloudy days, cold weather, or smaller panels will take longer—and that’s totally normal.
Step 5 — Stop safely when full
The BMS will automatically stop charging when the battery hits 100%—no need to watch it 24/7. When you’re ready to shut down: first turn off the inverter’s charging function, then disconnect the solar panels (use the DC isolator). This prevents power surges or false readings.
Key Safety Tips
- Never charge a damaged battery (cracks, swelling, leaks).
- Stick to the temperature range (-20°C to 60°C). Extreme temps shorten battery life or trigger safety shutoffs.
- Use high-quality cables and fuses. Undersized wires get hot and can be dangerous.
- Don’t change inverter charge settings without checking JM’s recommendations. Wrong settings can damage the battery.
- Update inverter and battery firmware regularly. Updates fix bugs and improve safety.

U.S. Family Stories: Real-World Examples
The Smiths — Los Angeles, California
The Smiths have a 2,000 sq ft home with a 6kW solar array and JM’s 15kWh battery. They charge the battery every morning—usually done by early afternoon (5–6 hours of sun). Now they use almost no grid power at night, and their electric bill dropped by $120/month. “It’s set-it-and-forget-it,” says Mr. Smith. “We never worry about running out of power.”
The Johnsons — Austin, Texas
Texas blackouts made the Johnsons invest in backup power. They paired JM’s battery with a 7kW solar system. During a 3-day outage last summer, the battery kept their fridge, lights, and AC running (they conserved power for critical uses). “We charged it during the day with solar and used it at night,” says Mrs. Johnson. “It gave us peace of mind when the grid went down.”
Why JM’s Solar Lithium Battery?
Here’s why homeowners and installers choose JM’s 51.2V 300Ah pack:
- Plenty of power: 15.36 kWh of usable energy and 200A continuous charge/discharge—enough for whole-home use or backup.
- Durable design: IP65-rated enclosure works indoors or in sheltered outdoor spots (like a garage or shed).
- Long life: 8,000+ charge cycles (that’s 20+ years for most homeowners) and a 10-year warranty.
- Easy to integrate: Works with popular inverters (Deye, Growatt) via CAN/RS485. No complicated setup.
- Flexible options: JM offers OEM/ODM services and low minimum orders—great for installers or businesses.
Maintenance & Best Practices
Keep your battery working like new with these simple tips:
- Do a quick visual check every 3–6 months (look for damage or loose wires).
- Update inverter and battery firmware when updates are available.
- If you won’t use the battery for months (e.g., vacation home), store it at 50% SOC.
- Keep terminals clean—wipe away dust or corrosion with a dry cloth.
- Log charge/discharge cycles (use the app) for warranty claims or performance tracking.
Frequently Asked Questions (FAQs)
How long will the JM 51.2V 300Ah battery last?
With proper use (following temperature and charging guidelines), it’s rated for 8,000+ cycles. For most homeowners, that’s 20+ years. Lifespan depends on how often you charge/discharge and how much of the battery you use each time (depth of discharge).
What inverter settings should I use?
Match your inverter’s charge voltage and current limits to JM’s recommendations (found in the manual). Use CAN/RS485 communication so the BMS and inverter work together—this optimizes charging and protects the battery.
Can I add more JM batteries for extra capacity?
Yes! You can connect multiple JM 51.2V 300Ah packs in parallel for more energy storage. Make sure your inverter supports parallel batteries, and follow JM’s wiring diagrams. Contact our support team for help with setup.

What if I see swelling or leakage?
Stop using the battery immediately—turn off charging/discharging and disconnect it from the inverter. Do not open or repair the battery yourself. Contact JM technical support right away for next steps.
Conclusion
Recharging JM’s 51.2V 300Ah LiFePO4 battery with solar is easy when you follow the pre-checks, 5-step process, and safety tips. This battery is built for U.S. homeowners who want reliable backup power and lower energy bills—with minimal maintenance and long-lasting performance.
- Inspect battery and connections
- Check temperature and SOC
- Confirm inverter compatibility and communication
- Monitor during charging (no need to stare—check occasionally)
- Let the BMS automatically stop charging when full
What Is Mah Battery
How Can I Save Battery