


How To Replace Battery Post Terminals
How to Replace Battery Post Terminals for Your High-Capacity Wall-Mounted Lithium Ion Battery
Table of Contents
Article Summary
Battery post terminals are make-or-break for your wall-mounted Lithium Ion Battery’s performance. Corroded, loose, or damaged terminals waste energy, create safety risks, and shorten battery life. This straightforward guide walks you through how to replace battery post terminals—tailored for high-capacity solutions like JM Energy’s 51.2V200Ah-10KWH Lithium Ion Battery. We also share two quick U.S. home stories that show why terminal care matters, plus why our Dongguan-made battery (backed by 10 years of manufacturing experience) is a top pick for homeowners.
Introduction
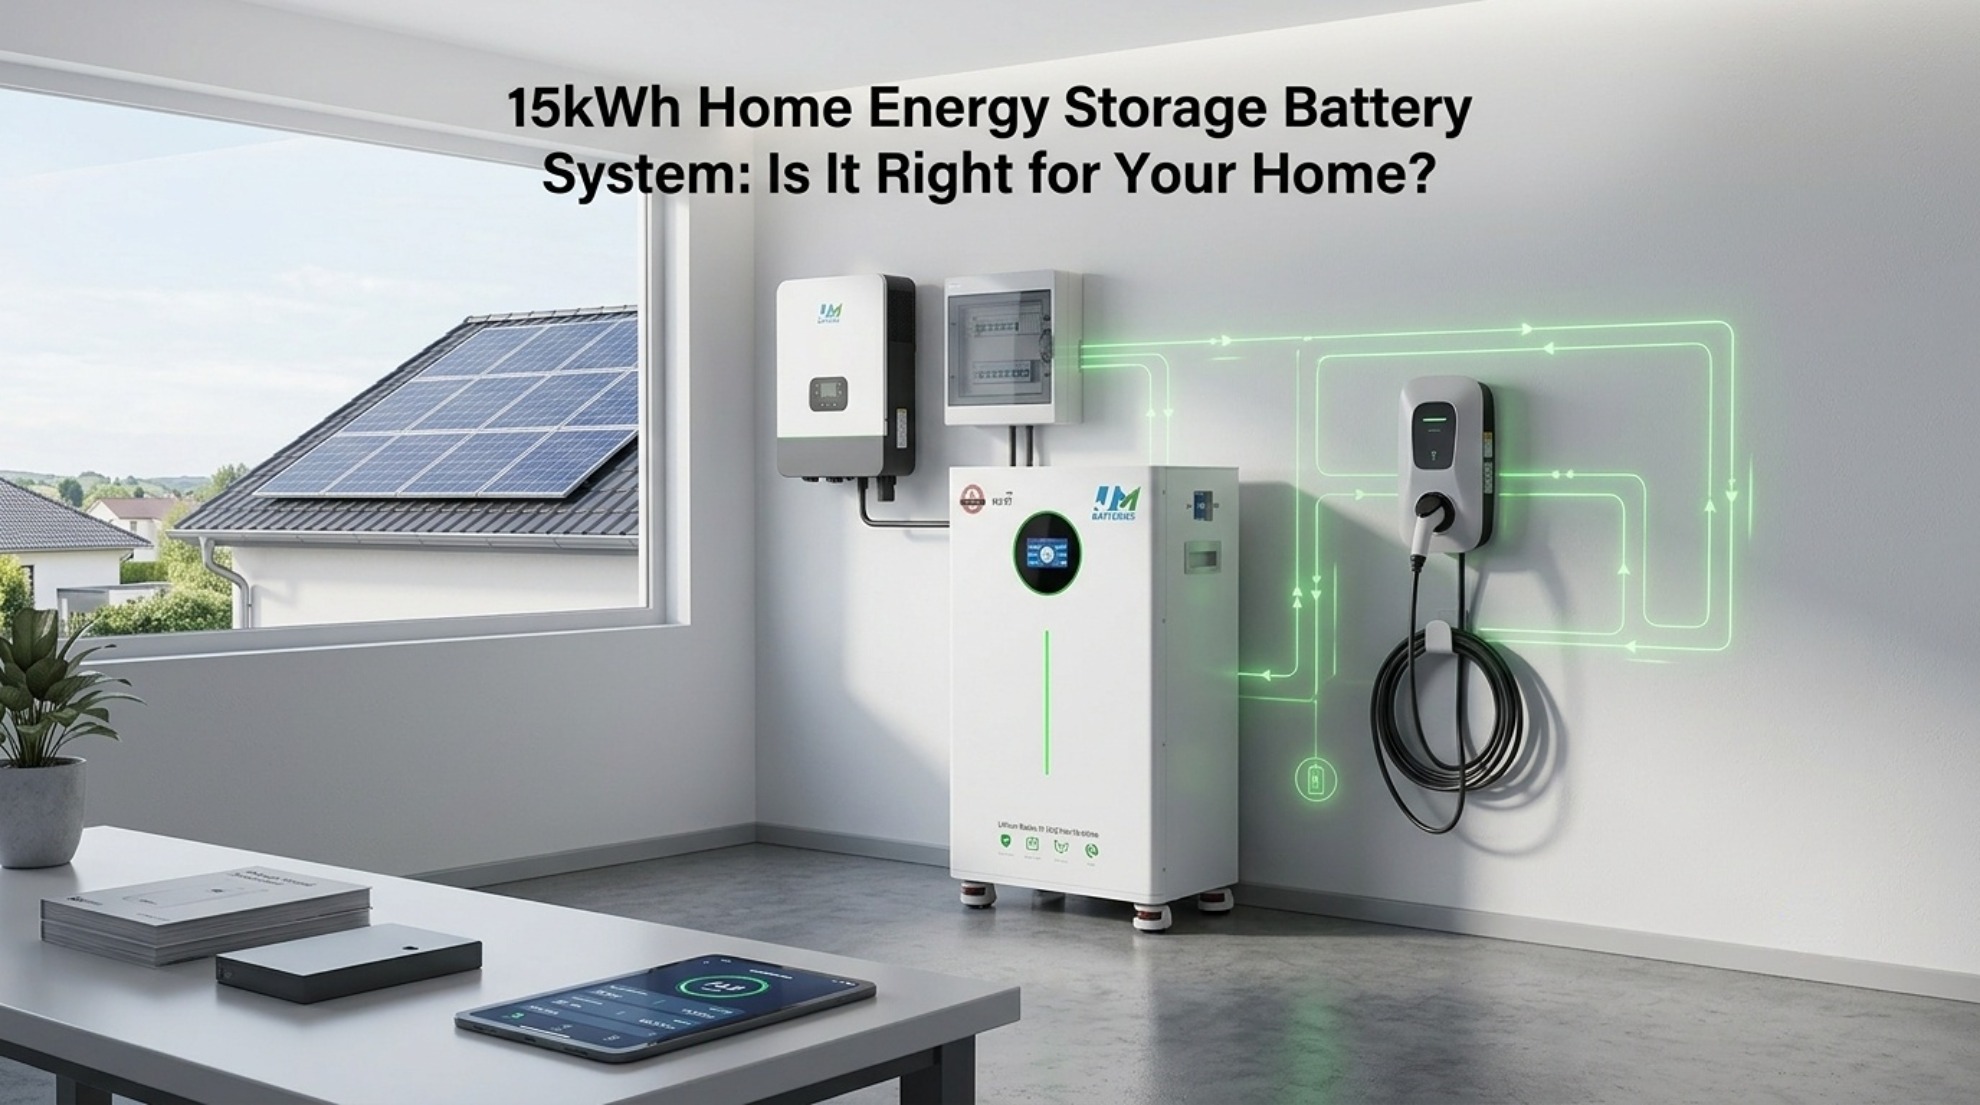
More U.S. households are using wall-mounted Lithium Ion Batteries to store solar energy, cut bills, and stay powered during outages. JM Energy’s 51.2V200Ah-10KWH Lithium Ion Battery is a popular choice—compact, high-capacity, and built to last 10 years with 8000+ cycles. But over time, battery post terminals (the metal connections linking the battery to your home’s system) can corrode, loosen, or get damaged. The good news? Replacing them is a quick DIY job—no pro needed. This post breaks down the steps, shares real-life examples, and explains why our wall-mounted Lithium Ion Battery stands out.

Why Replacing Battery Post Terminals Matters
Battery post terminals are the “link” between your Lithium Ion Battery and your appliances. Bad terminals cause:
- Wasted energy: Corrosion blocks electricity flow, so your battery charges/discharges poorly.
- Safety risks: Loose or corroded connections can overheat—dangerous with high-capacity batteries.
- Shorter battery life: Straining against bad terminals makes your battery wear out faster.
For wall-mounted models like our 51.2V200Ah-10KWH Lithium Ion Battery, terminal care is even simpler—their compact design means easy access. Replacing terminals takes under an hour and saves you from costly battery replacements later.
Step-by-Step: How to Replace Battery Post Terminals
What You’ll Need
- Wire brush (or old toothbrush), wrench set, new compatible terminals
- Anti-corrosion spray/grease, insulated gloves, safety goggles, dry cloth
- Multimeter (optional, for testing)
For JM Energy’s 51.2V200Ah model, use terminals that handle up to 200A (matches the battery’s max current).
Step 1: Disconnect Safely
Turn off your solar inverter and battery disconnect switch (if equipped). Disconnect the negative terminal (“-”) first, then positive (“+”)—this prevents short circuits. Double-check the wall-mounted battery is securely fastened.
Step 2: Clean the Battery Posts
Scrub corrosion (white/green/blue powder) off the battery posts with a wire brush until shiny. For tough buildup, use a baking soda-water paste (let sit 5 mins, then scrub). Wipe clean with a dry cloth.
Step 3: Remove Old Terminals
Loosen the bolt holding the old terminal to the wire (take a photo of wiring first!). Pull off the old terminal. If wires are frayed, trim the bad part and strip ¼ inch of insulation.
Step 4: Prep New Terminals
Choose copper/brass terminals (resist corrosion). Dab anti-corrosion grease inside—this prevents future rust.
Step 5: Install New Terminals
Slide new terminals onto the correct posts (positive to “+”, negative to “-”). Tighten bolts snugly (don’t over-tighten!). Reconnect wires using your photo as a guide—crimp or use wire nuts, then wrap with electrical tape.
Step 6: Reconnect and Test
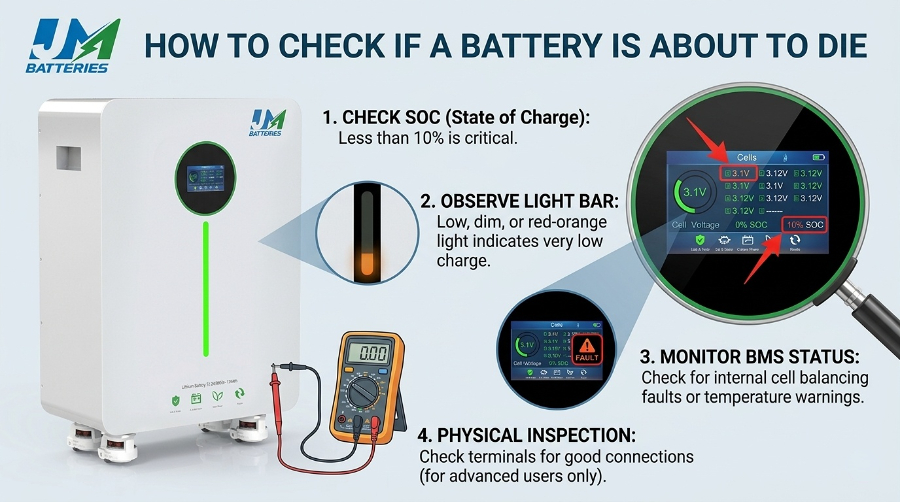
Reconnect positive terminal first, then negative. Turn on inverter/switch. Use a multimeter to check voltage (should be ~51.2V for our model). Turn on a few appliances—if terminals stay cool and everything works, you’re done!
Step 7: Maintain Regularly
Check terminals every 3–6 months. Wipe clean and reapply anti-corrosion grease if needed—easy upkeep for long battery life.

Real U.S. Home Cases
Case 1: The Smiths (Phoenix, AZ)
Three years after installing our wall-mounted Lithium Ion Battery, their terminals corroded from Arizona’s heat/humidity. Mr. Smith followed our guide, replaced terminals in 45 mins, and applied anti-corrosion spray. Now, the battery powers their AC/fridge during 8-hour outages—energy bills are down 15% too. “Super easy to fix, and the wall design saves garage space,” he said.
Case 2: The Garcias (San Diego, CA)
Mrs. Garcia accidentally bent a terminal while cleaning. They called our support, got step-by-step help, and replaced it in 30 mins with local hardware store parts. “I’m not handy, but it was simple,” Mr. Garcia said. The battery’s smart monitoring confirmed a secure connection—still running like new 6 months later.
Why Choose JM Energy’s Wall-Mounted Lithium Ion Battery?
- High Capacity: 10240WH powers a U.S. home for 8–12 hours.
- Space-Saving: Wall-mounted (920×485×190mm) fits small homes/garages.
- Durable: 8000+ cycles, 10-year warranty, BMS safety protection (overheat/short circuit).
- Smart: Supports Bluetooth/WIFI—monitor performance from your phone.
- Certified: Meets ISO/UN38.3/ROHS standards—compatible with U.S. solar systems.
- 10 Years of Expertise: Made in Dongguan, China—we specialize in reliable lithium-ion batteries.

Conclusion
Replacing battery post terminals is a simple DIY task that keeps your wall-mounted Lithium Ion Battery running smoothly. With JM Energy’s 51.2V200Ah-10KWH Lithium Ion Battery, you get a high-capacity, easy-to-maintain solution backed by real U.S. home success stories and a decade of manufacturing know-how.
Recommended Product

Trusted External Resources
What temperature is best for lithium batteries
How Long Can A Lithium Ion Battery Last